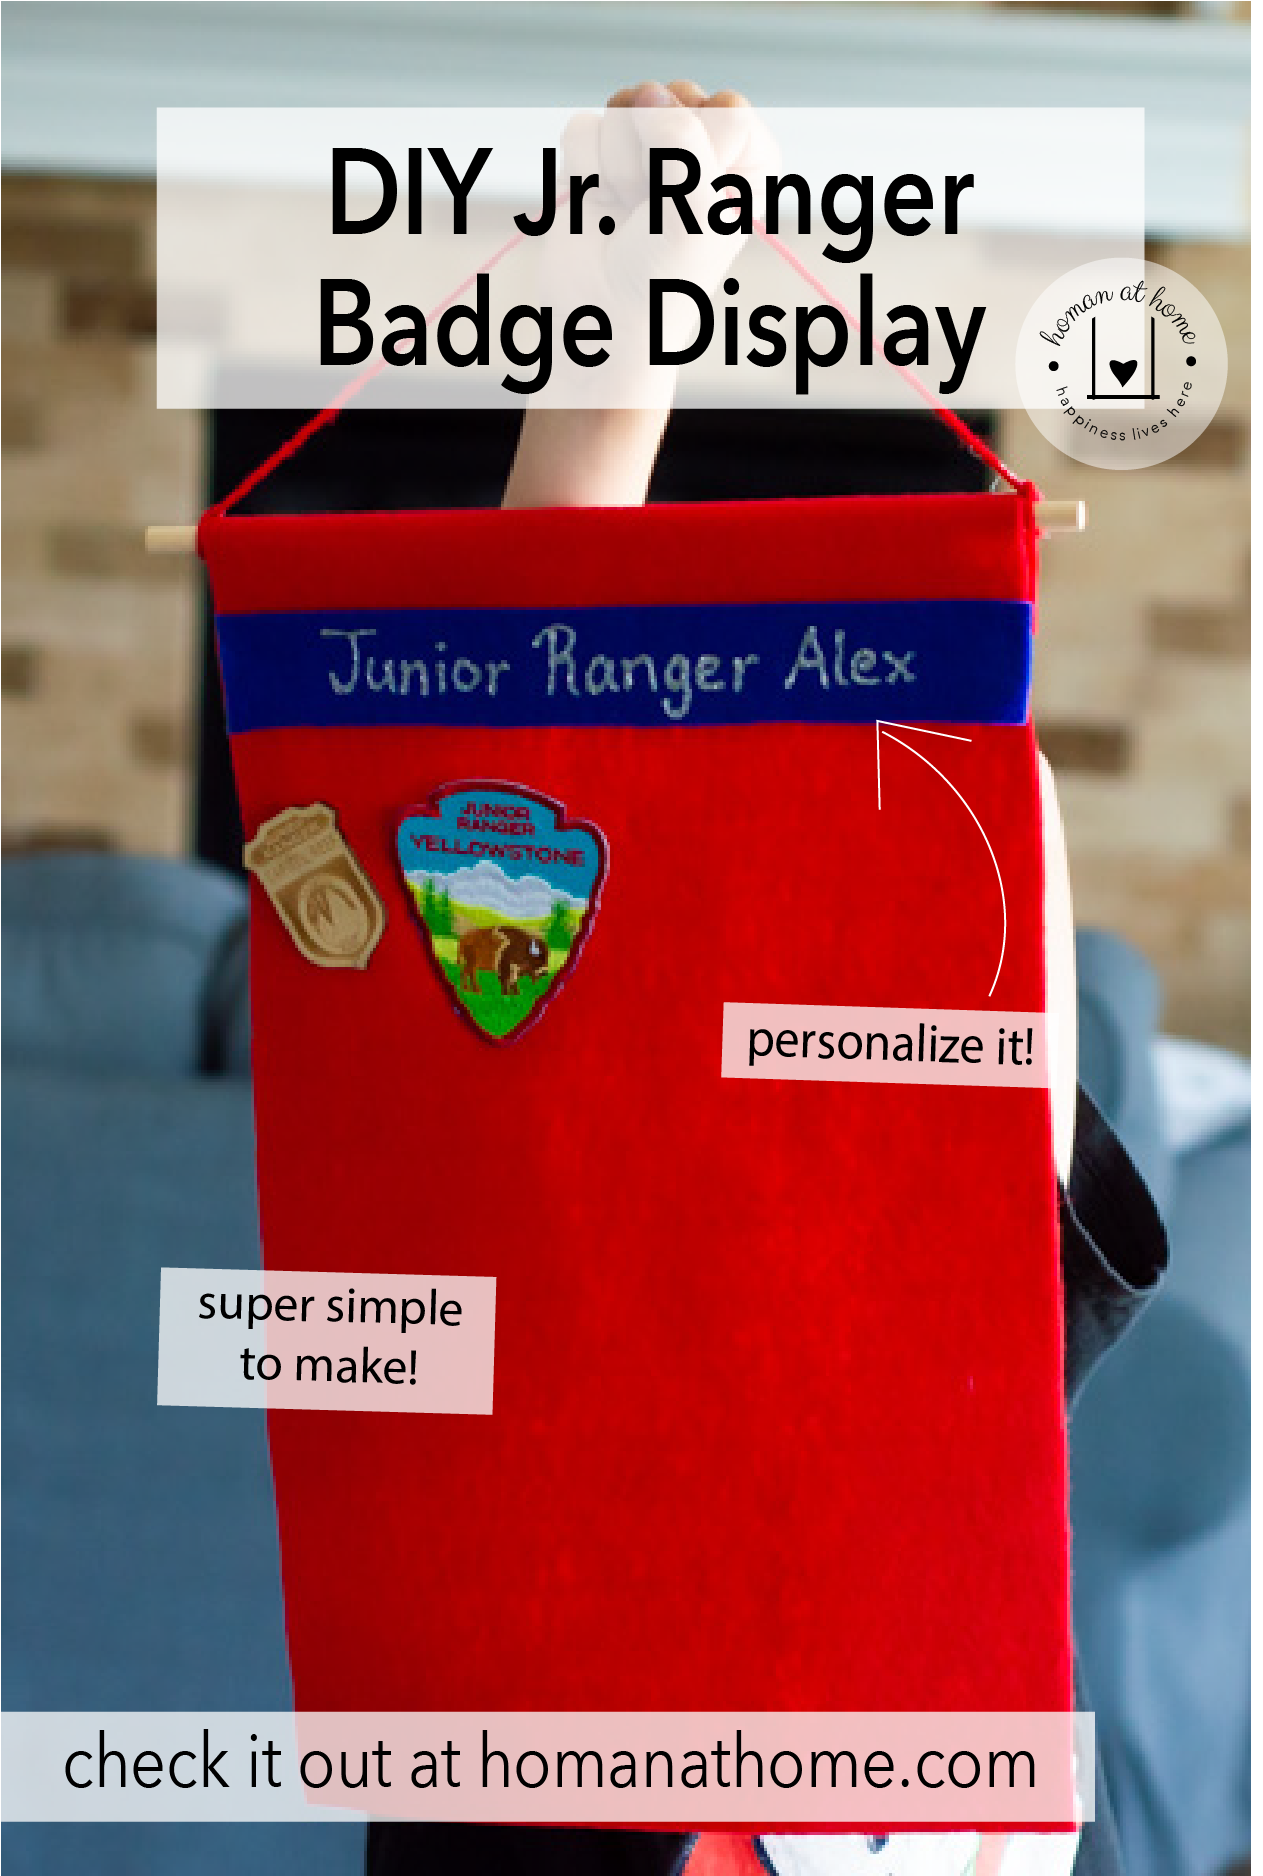
DIY Jr Ranger Badge Display
This easy-to-make Jr Ranger badge display is the perfect way to showcase your little ones’ accomplishments!
The National Parks Junior Range Program is a fantastic summer activity for kids ages 5-13. I have fond memories of doing this with my family many years ago. I was a Jr. Ranger at nearly 20 different parks back in the 90s.
When I started doing this with my kids last year, I learned that a lot has changed in the last 20+ years. For most of the programs, you’ll need to visit the park itself to attend a ranger presentation, complete several pages of a booklet, and then take an oath to always protect parks. In return, the kids get a cool badge, a certificate, and the honor of being a Jr. Ranger, which my kids think is the coolest thing ever. They also learn a ton about geology, zoology, ecology, and many other -ologies.
In addition, due to COVID, the Park Service has added a number of Jr. Ranger badges that can be earned anywhere. You can print the book from their website and get the badge mailed to you after you complete the activities. These programs include things like becoming a Jr. Paleontologist, Archeologist, or Angler.
Click here for the Park Service Jr. Ranger page.
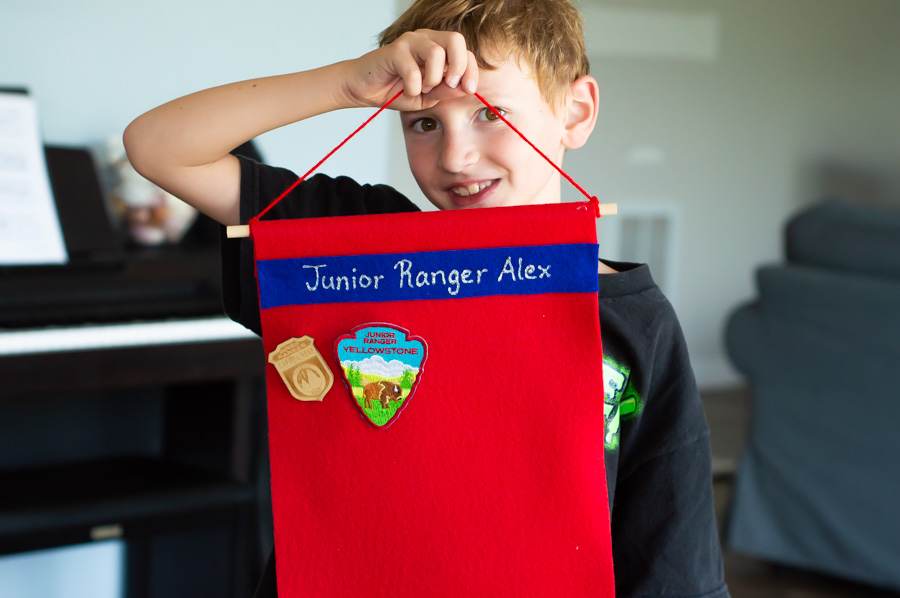
The only issue with all those badges is that they’re easy to lose and somewhat fragile. This project is my answer to that. It’s a simple felt display banner you can pin the badges to. You can make them in any size — the measurements in this tutorial will hold up to 15 badges (As long as none of them are the weirdly large Yellowstone badge. All the others are uniform.)
DIY Junior Ranger Badge Display Tutorial
Materials
- 10.5″x18″ piece of felt
- contrasting felt, 10.5″x1.5″
- 3/8″ dowel – 12″ long
- puff paint
- hot glue
- yarn, string, or twin
Directions
Lay your large piece of felt out on the table and smooth it so that there are no wrinkles. Lay your dowel about 2 inches from the top of the felt and glue it down. Make sure the ends stick out evenly on each side. You’ll see that I did not do a great job of that on this one!

Next, fold your felt over the dowel and glue the edge down.

On your contrasting piece of felt, write “Junior Ranger (insert name here)” in puff paint. You’ll have to let this dry for at least an hour or until it’s no longer tacky to the touch. The felt will absorb the paint and the letters will be flat when it’s ready.

When the letters are dry, use the hot glue to glue the contrasting strip to the front of the the banner. You’ll want to go down about an inch below the dowel so the words will be flat when the banner is hanging.

The last step is to tie string to either side of the dowel. I use a dot of hot glue to make sure the string isn’t going anywhere and to control the loose end of the knot.
And that’s it! Your banner display is ready to add some badges to!


Don’t forget to pin!